
The journey to Headstand
When I began practicing yoga, I used to look for books and videos on ‘advanced’ postures. I believed that being a yogi meant making cool shapes with my body and adding in a little breathing. When I first saw pictures of Headstand, my reaction was, “Wow, that’s cool. I want to learn!” At the same time, I thought, “How the hell is that person standing on their head? This might be witchcraft!”
Hearing that Sirsasana is the ‘King of yoga poses’ only fueled the fixation I had with standing on my head. It seemed paramount that I learn to do this inversion, despite my disbelief in hierarchies within yoga (or in life, to be honest). It took me a few months to learn to safely perform a Headstand that was anatomically sound and in alignment. And as fun as it is being upside down, the greatest joy (and challenge) was definitely the journey there.
Sirsasana is a Sanskrit word that means “head” (sirsa) and “posture” (asana). Even though the gist of it is, indeed, standing on your head, there are many steps and actions that must occur in order to get there. Please, keep in mind that any and every step required to Headstand is important, not only Headstand itself. If you are interested in developing a Headstand practice, you can have fun and gain profound knowledge without ever taking your feet off the ground.
If you’re interested in developing a Headstand practice, you can have fun and gain profound knowledge without ever taking your feet off the ground.
As I transitioned from yoga student to yoga teacher, I developed my teaching philosophy and intentions. I learned the obstacles that can make an asana inaccessible for many. This includes health concerns, individual anatomy, lifestyle, etc. But with the help of props and by letting go of the idea that every yoga posture has a “full expression”, we can create a similar sensation that will ignite our mind and soul just the same.
Benefits of Headstand
Although I believe practicing Headstand is optional, it certainly has an array of benefits:
- Stimulation of the pituitary and pineal glands which are responsible for regulating bodily functions like blood pressure, reproduction, sleep, and more.
- Relief of anxiety and mild depression by calming the brain.
- Strengthening of the arms, spine, abdominals and legs.
- Improvements in digestion.
One of my favourite benefits of Headstand (and inversions in general) is how quickly it induces focus. When I am in Headstand, I can do nothing else but to be in Headstand and breathe in the present moment. As soon as my focus shifts, my body’s engagement, balance, and the integrity of the posture, all decline.
Read more about the benefits of yoga inversions.
Get upside down in class with Laia Bové
Available as part of your EkhartYoga membership
Contraindications of Headstand
As mentioned above, Sirsasana is a fairly inaccessible posture for many of us without use of props or modifications. Hence, it is a posture that I would highly recommend you learn with the guidance of a yoga teacher. If you have a history of or currently experience back/neck pain, hyper/hypotension, glaucoma, heart conditions, or if you are pregnant, please consult with your healthcare professional before embarking on the journey of learning sirsasana.
Building up to Headstand
1. Develop Strength
Strengthening one’s core, arms, and legs is crucial to developing the right muscles, balance, and body awareness to get into a Headstand. In order to get into this inversion, you must be able to engage a diverse group of muscles to find balance while upside down.
Dolphin pose is a great pose to start building strength. Or try a strengthening class on EkhartYoga like Short but powerful stability training with Anat Geiger
2. Begin with Props
A great way to start getting upside down is by practicing tripod Headstand with some blocks.
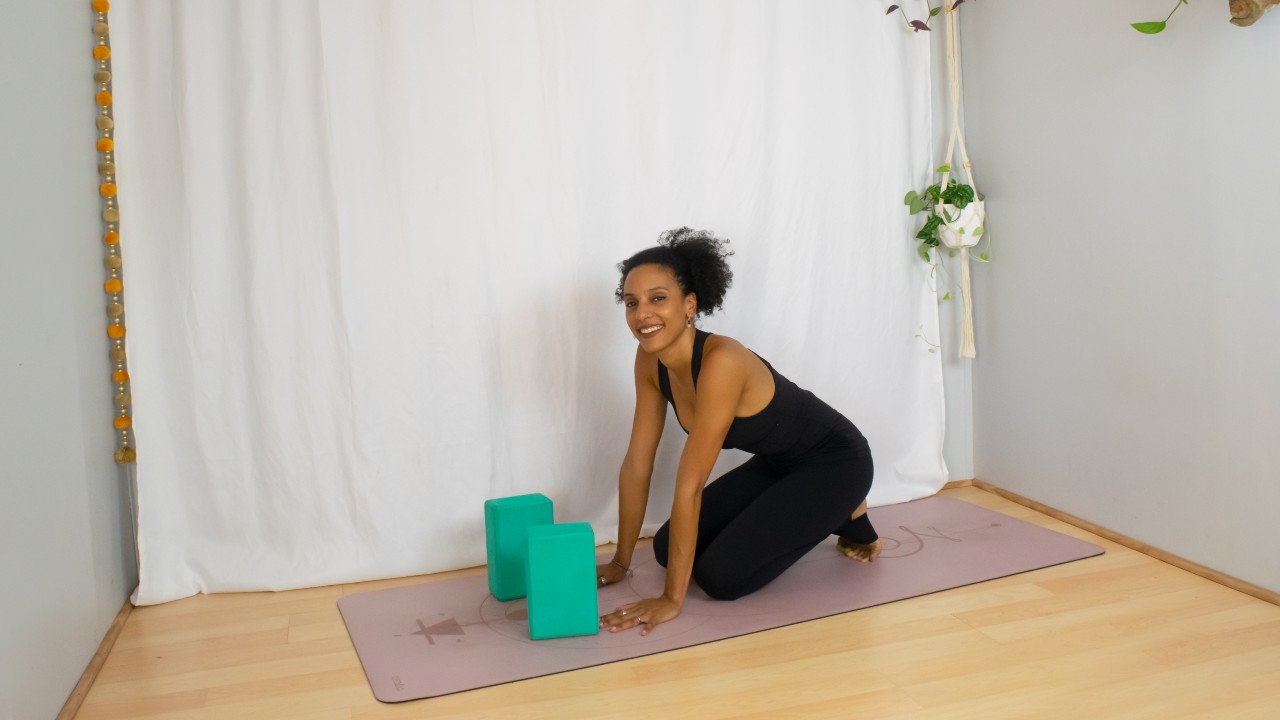
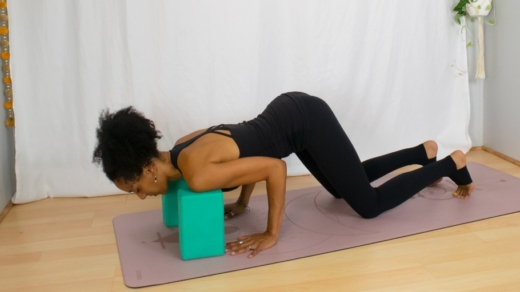
- Come into a Tabletop position and bring your hands onto the floor shoulder width or slightly closer. Place two blocks on the highest setting in front of each hand. Rotate your inner elbows forwards and shift your weight past your wrists as you lower your shoulders to the top of the blocks.
- Slowly bring the crown of your head between the blocks until it gently touches the floor.
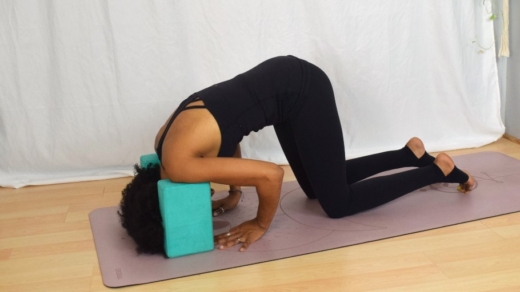
- Squeeze your elbows toward each other, notice if they tend to widen. That may be a sign to work on shoulder and arm strengthening.
- Tuck in your toes, lift your knees off of the ground, and slowly start to walk your feet toward your hands.
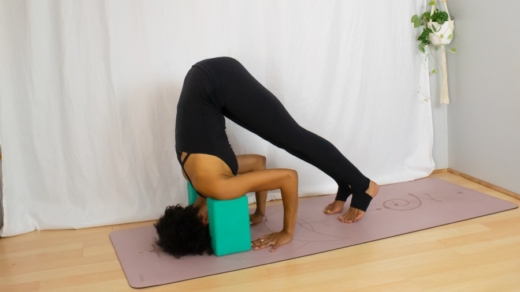
This is a great place to pause and explore. Notice how much strength is required through your legs, core, arms and shoulders. So most of the weight isn’t on your neck, see how light you can become on your head. Distribute the weight between your hands, arms, and shoulders.
Once you develop good stability, work on walking your feet closer and closer, until you’re able to stack your hips directly above your shoulders. This is another great place to stop. You can spend a few days or weeks working on becoming lighter, creating more buoyancy and learning to breathe and observe in this position, with your toes still on the ground.
For many of us, this can be as far as we can go. You can reap the benefits of this inversion whether you’re on step one, or your feet are straight up toward the sky.
3. Master the controlled Lift-Off
If at this point, if you feel like exploring lift-off, consider starting near a wall. Personally, I find falling out of inversions to be a mixture of fear and excitement. But sometimes, knowing that a wall is there to catch us, gives us space to explore sensations and feelings beyond fear and discomfort.
- Start by tucking one knee into your chest. Notice what this action activates; notice your balance and how you are breathing.
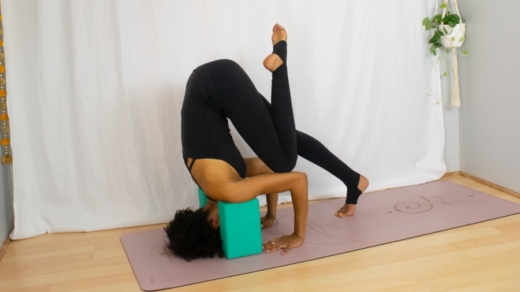
- When you feel ready, which could be the same day or next month, consider lifting your other knee to your chest.
- This may be a great place of exploration as you build awareness, strength, and balance upside down. Or this may be the farthest you ever go, and that’s great!
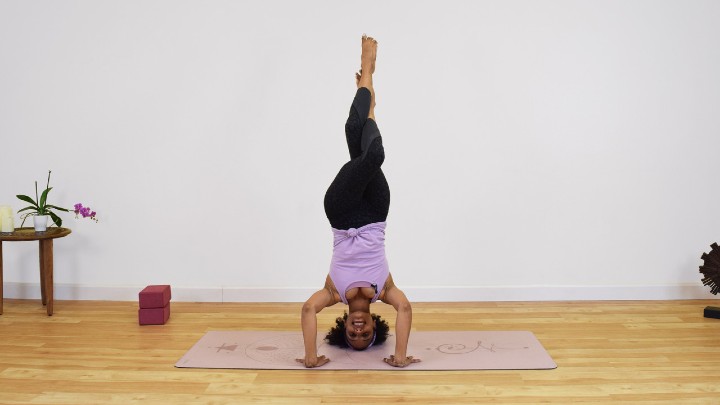
- Eventually you may want to lengthen one leg up toward the ceiling. As you do so, contract your abdominals and avoid arching your back.
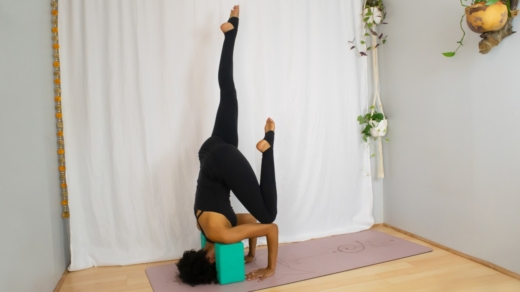
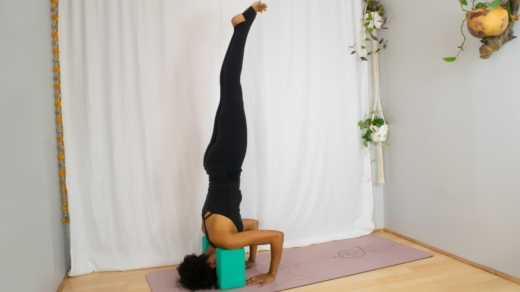
- Once you feel balanced, i.e. your leg, hips, and shoulders are aligned, you will be able to steadily breathe and become present. Here, consider extending your other leg up to squeeze your thighs against one another as you reach your energy up through your toes and toward the ceiling.
NOTE: Please, avoid jumping up into a Headstand! It may seem like the quickest way to get there, but it creates instability, and the momentum removes all possibility of using the proper muscles and the engagement to safely put any weight on your head, neck, and shoulders.
Once you’ve reached the variation of Headstand that you want to explore on a particular day, give yourself time to be present. Observe. See what the world looks like from this inverted viewpoint. Recognise that there are things that we can only experience when we flip our perspective, when we take the time to investigate a different path.
Recognise that there are things that we can only experience when we flip our perspective, when we take the time to investigate a different path.
4. Breathe there. Feel there. Be there.
Once you feel complete, come down into a Child’s pose (Balasana) by lowering one knee and one foot at a time. Give yourself at least as many breaths in child’s pose as you did in Headstand to feel the after effects. For me, the after effects can range from intense focus and calm, to a sense of exhilaration and joy.
I choose to practice Headstand with blocks under my shoulders most of the time. I believe it provides safety for my neck and allows me to remain in the posture a bit longer without worries of stress in the cervical spine. However, if after practice you feel called to try this posture without the assistance of props or a wall, I once again encourage you to seek a teacher that can safely assist you.
Sirsasana is a versatile asana to introduce inversions into your life. The process of learning to Headstand has many points where you can pause and explore. As is everything that is encompassed within the word yoga, this posture is a great tool for self-discovery and self-love. Yoga helps us learn about our strengths and our weaknesses. It is a useful instrument which can help us cultivate self-acceptance and develop self-inquiry to avoid criticising or punishing ourselves
Whether Sirsasana is a posture that is accessible to you or not, the lesson is to simply continue exploring who you are. Being able or unable to do this posture does not determine your worth as a human or how advanced you are in yoga or life. Practicing sirsasana is simply another chance for inquiry, discovery, and, hopefully, some fun.